Discord Hook
HuskChat supports displaying messages on Discord, either through webhooks for one-way communication or by using Spicord for two-way communication (some setup required).
To enable Discord support, set enabled to true in the discord: section of config.yml. You can then configure the bot and channel webhooks.
Webhooks
Webhooks are a simple way to send messages to a Discord channel. You can create a webhook for a channel by going to the channel settings, then Integrations, then Webhooks. You can then create a webhook and copy the URL. In the HuskChat config, you can then add the webhook URL to the channel_webhooks section of the config.
Spicord
Spicord is a plugin that allows for two-way communication between Discord and Minecraft. You can find more information about Spicord here. Spicord can be installed on BungeeCord, Velocity, or Paper.
DiscordSRV does not support Velocity/Bungee, and Spicord does :-)
Installing Spicord
- Download the Spicord plugin and place it in the plugins folder of your server alongside HuskChat.
- Start the server.
- Open the config.toml file located in the
plugins/Spicorddirectory using a text editor.- Insert your bot token in the designated field (see below how to get a token)
- Change the value of the enabled option to true
- Add
huskchatto theaddonssection of your bot
- Restart your server.
Your Spicord config.toml file should contain a bot like this:
  name = "Server Chat"
  enabled = true
  token = "[YOUR TOKEN]"
  command_support = true
  command_prefix = "-"
  addons = [
    "spicord::info",
    "spicord::plugins",
    "spicord::players",
    "huskchat"
  ]
Creating a bot
Here's how to create a bot and add it to your Discord server (Taken from Spicord's documentation):
- Log-in into the Discord Developer Portal
- Click New Application and choose a name for your bot
- You will see the information of your application and you will need to copy the numbers below Client ID, you will need it to invite your bot to your server
- Switch to the Bot tab located at the left of the page, and then click Add Bot > Yes, do it!
- You will see your bot information and there you can change its profile picture and name
- Click the Copy button below the Token section, you will need to put it in the Spicord configuration
- To invite your bot, go to
https://discord.com/oauth2/authorize?scope=bot&permissions=8&client_id=YOUR_IDbut before replaceYOUR_IDwith the ID you copied in the 3rd step, this will generate the invite url for your bot and redirect you to it, the generated url will make your bot have Administrator permission
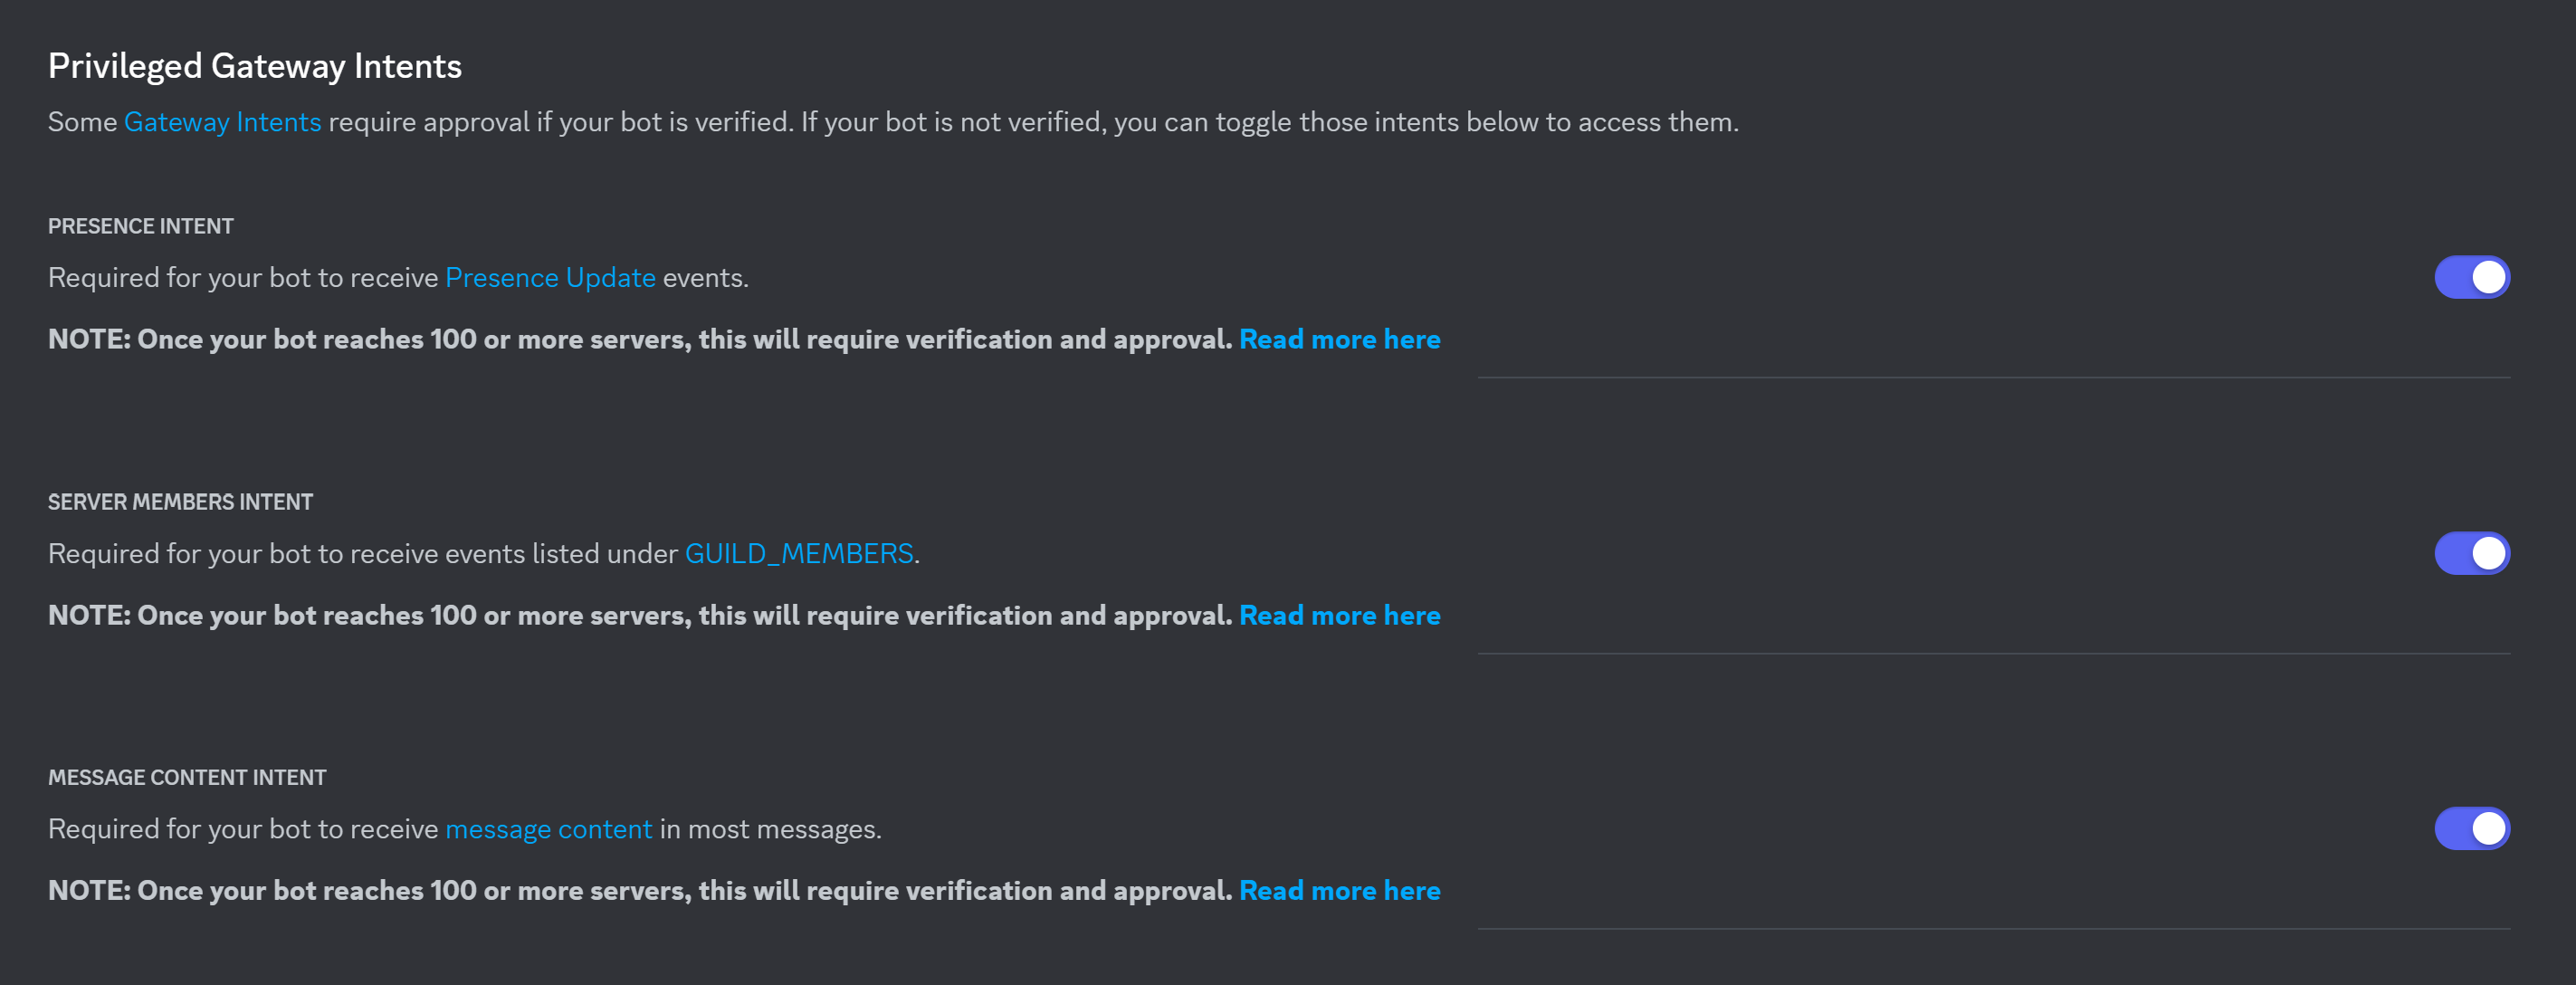
Note that you are required to enable the following gateway intents for your bot on the developer panel, otherwise it won't boot up:
Configuring HuskChat
Once you have created your bot and invited it to your server, you can configure HuskChat to use it. In the discord: section of the config, set enabled to true and spicord.enabled to true. You can then configure the bot and channel IDs.
To get the ID of a channel, ensure Developer Mode is enabled in your Discord settings, then right click a channel and select "Copy ID". All you need to do then is paste the ID into the config and map them to the corresponding in-game channel!
Restart your server, and enjoy!